Ohhh my love hate relationship with self tanning. It looks so good when it’s done right, but it’s SUCH a process. I stopped tanning in the sun (and tanning beds) about 6 years ago once I actually realized how terrible it is for your skin. I’ve been on a mission ever since to find ways to create a healthy looking glow without the sun damage. I used to get my tans professionally done at a salon a couple times a month until I realized I could do just about as good of a job as the salons at home in my bathroom. Today I’m showing you exactly what I use and how I keep my skin with a year-round even tan…
#1 Exfoliate & Shave:
To get completely even color, you should always exfoliate and shave the day before you self tan. Sometimes when I self-tan too soon after I shave/exfoliate, the formula fills into my pours and leaves weird dark spots on my skin. You should try to shave a full day before so the pores will have time to seal. I use these shower gloves to exfoliate my entire body. Before applying tanner, make sure there are absolutely no lotions, oils, deodorants, or any other products on your skin.

#2 Apply Generously:
I use a couple different tanning mousse products for my at-home tan. The skin can only absorb a certain amount of tanning product, so you shouldn’t worry too much about over-applying. I use a few squirts of the foam on every body part so there’s always enough product on my mitt to ensure smooth and full coverage over my skin with no streaks. I start on my legs and work my way up my body and end with my hands. I bend at my knees and do a light circular ’buffing’ motion when tanning my knees and elbows just to make sure the color is evenly spread out on these spots. When applying product, I use circular and sweeping motions until my whole body is covered in an even layer.
Because my skin can handle the dark color, I use this extra dark tanning mousse:
I use this product for when I want a little bit of a lighter tan in ‘medium’:
This tanning mitt is the best – I love the velvety texture of the fabric and how evenly it applies the formula. It’s so easy to wash, so each time after I tan I just through it in the laundry with my other towels.
#3 Applying To Hands and Feet:
You have to hold back a little bit on how much product you use when it comes to your hands and feet. I always use the excess product from my legs and arms to blend into my feet and hands. If you apply new product directly on these areas it looks too dark and unnatural.
#4 How To Tan Your Face:
I like for my face to be lighter than my body, it looks more natural that way. Then I just use bronzer/contouring to make my face the shade I want. I use the St. Tropez Bronzing Water Face Mist for my face once I finish tanning my body. I always put a towel over my chest before I spray my face so the mist doesn’t make my other tan streak. It actually has a fresh and tropical scent that doesn’t bother me at all and it’s the best way to get an even and natural looking glow on your face.
#5 Getting Your Back:
The upper area of my back is the only part of my body that’s really hard for me to reach on my own. If you’re home alone with no one to help you reach your back, here’s a genius tip I found online: put a tanning mitt on a wooden spoon and wrap an elastic band around it and then you can do your back all by yourself. Weird, but it works lol.
#6 Wait As It Develops…
I usually spray tan at night, so I don’t have to go out in public all day looking like a sticky caramel candy bar. When I’m tanning in my bathroom I usually put the blow dryer on low so it dries my skin as I go. It’s SO IMPORTANT to put big baggy clothes on after you finish spray tanning. Don’t put anything tight on that might rub against your skin and make marks. You should wear long pants and sleeves so none of your skin touches other parts of your body and leaves weird marks, but nothing too heavy so you don’t sweat.
#7 Tip For Washing It Off:
When it’s time to shower (I usually wait at least 8 hours) try showering it off water a little cooler than normal. Hot water tends to strip the color, so aim for warm water to preserve your color. Also, make sure to pat your skin dry and not to rub with the towel.
#8 Upkeep & Touch Ups:
Moisturize every single day so the tan fades evenly. I use this moisturizer to preserve my tan:
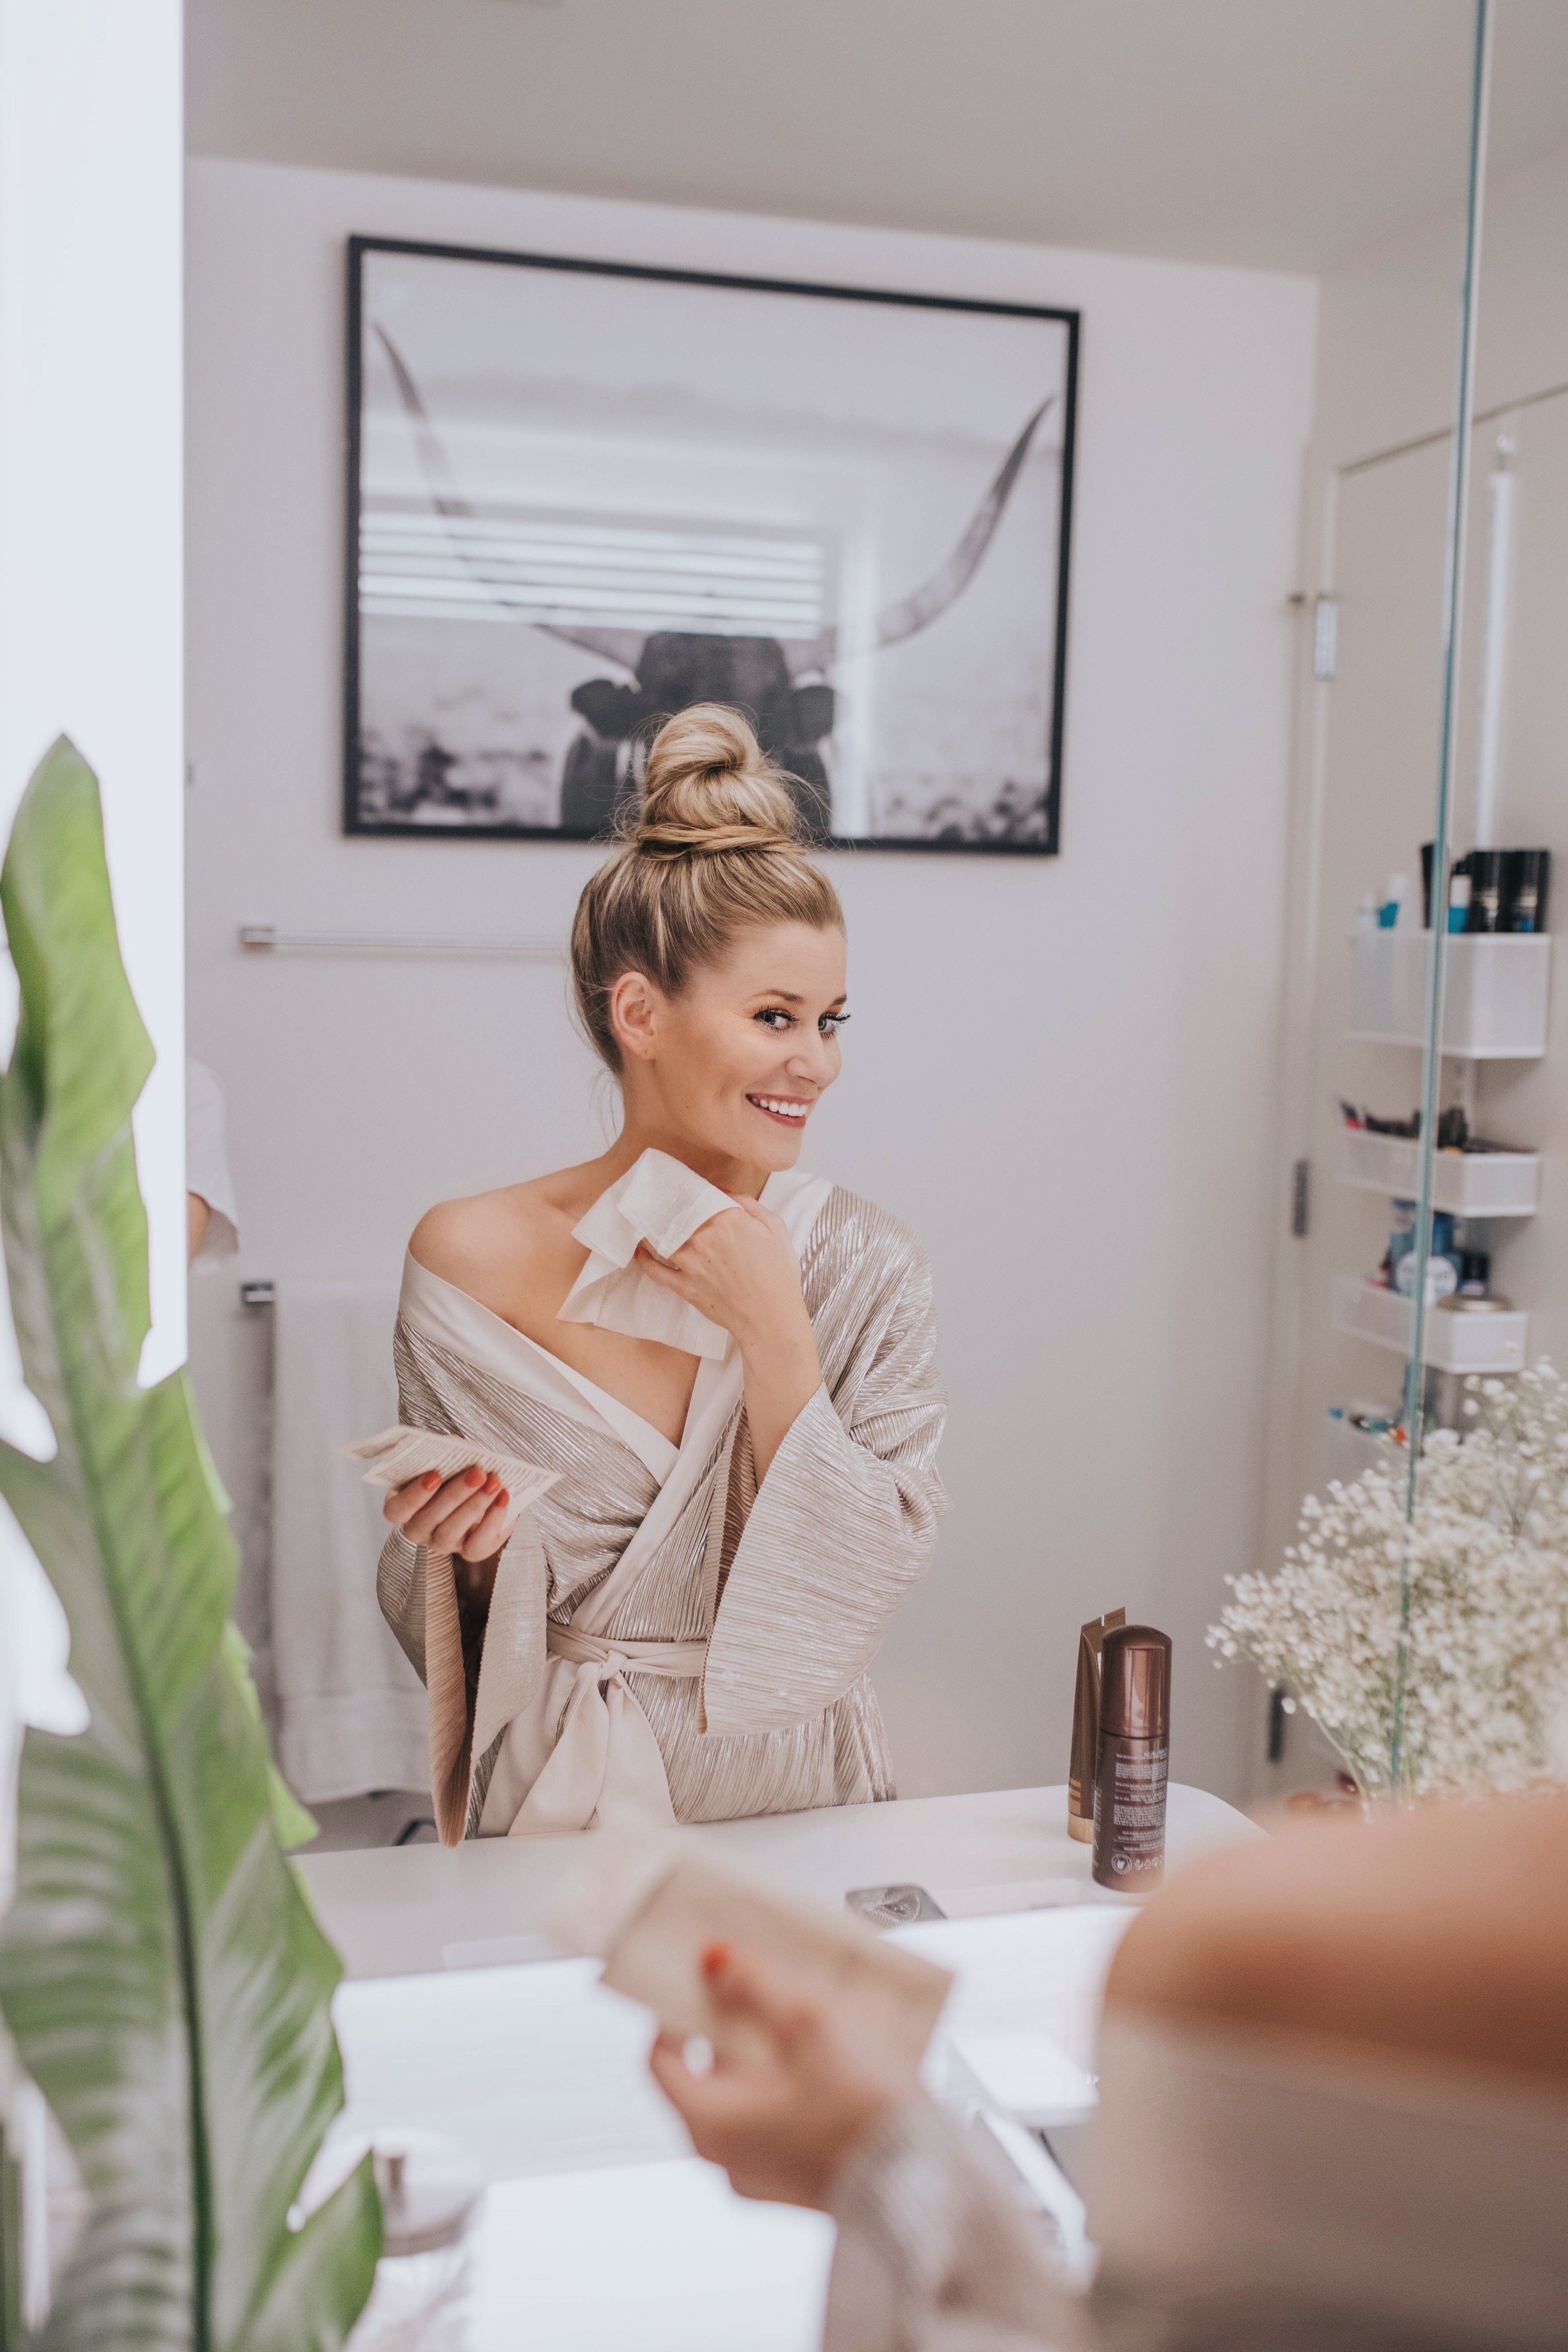
A few days after my initial tan, I use the Vita Liberata tan towels on my chest, arms, and legs to add color in spots where it might have faded a little. It’s not sticky and feels fine under clothes. These are also so great to bring with you if you’re traveling: Tan Towels.
Also, whenever I’m doing photoshoots or have an event and want super shiny and smooth looking legs, I use a little bit of the Vita Liberata Body Blur. It’s can be a little annoying because it’s more of a body makeup and will come off on fabrics if it rubs against something too much, but if you’re going to an event where it isn’t too hot and you won’t be doing a lot of sitting, it REALLY does look awesome and make you legs look so smooth and shiny. I use the ‘latte’ color:
#9 Before tanning the next time:
Exfoliate completely to ensure your skin is free of all excess self tanner.


Love this thank you for the tips!!!
Awesome tips! I will keep these in mind 🙂
Brianna | http://briannamarielifestyle.com/